MacroFab Blog
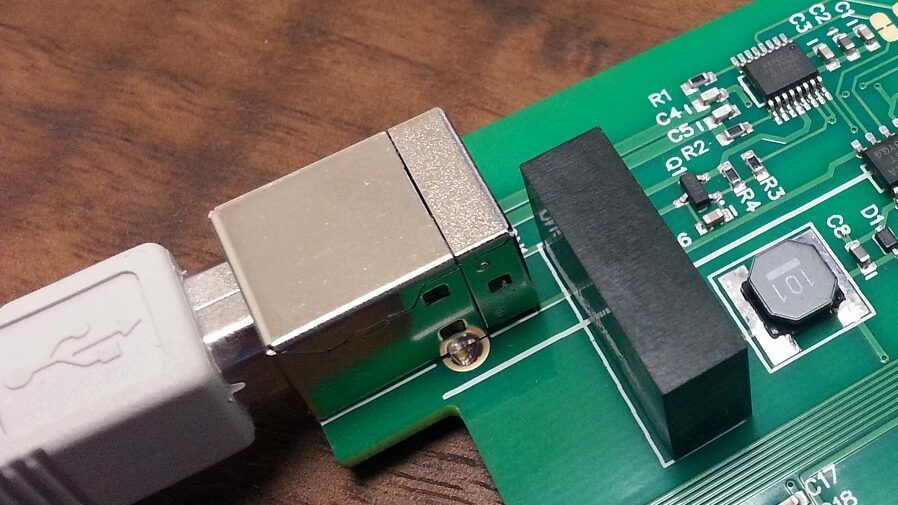
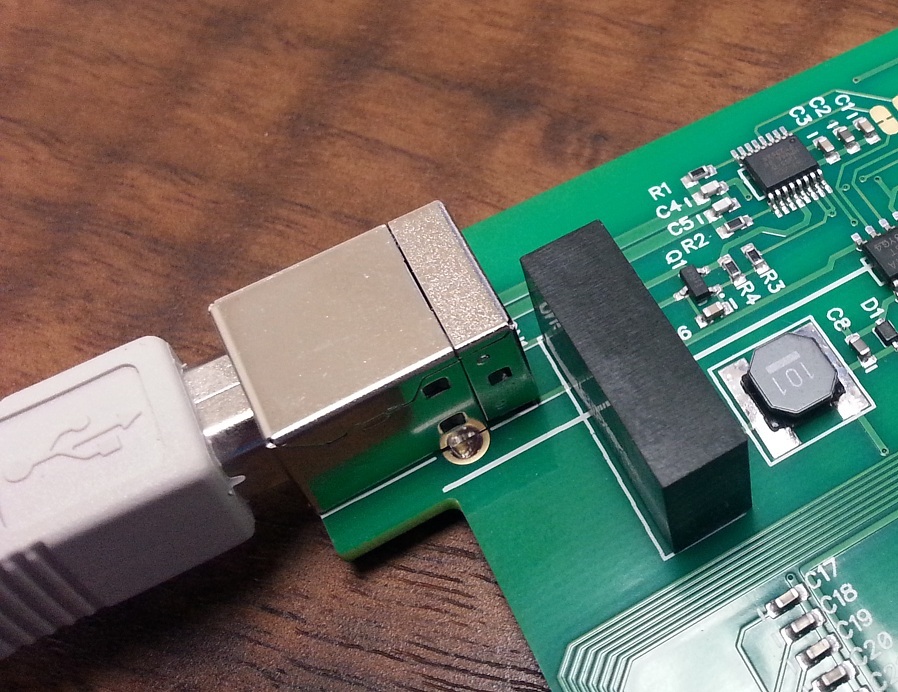
I mentioned FT-Prog in my last blog post. FT-Prog is a utility to program the EEPROM on FTDI devices. FT-Prog can configure the FT230X and add more functionality to the FT230X. To program the FT230X (and other FTDI devices) the part needs to be powered up and connected with a USB cable to a computer.
IMG 20140814 170758 1
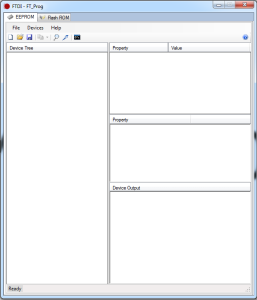
FT Prog 257x300
Before trying to connect an FT230X to a computer make sure to snag the VCP drivers and install. It is advisable to have the FT230X datasheet open while doing the walkthrough. I will be referencing the FT230X chip functions that are configurable. Page 11 of the datasheet has the CBUS signal options listed and what they do. FTDI also has an appnote for the FT-Prog software.
After connecting the USB cable to your device and computer the drivers should install. Opening “Devices and Printers” will show if the FT230X drivers and device where installed correctly.
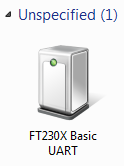
FT230 X Unspecified
FT Prog SP 257x300
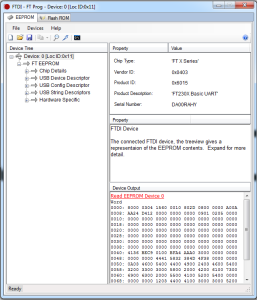
In the FT-Prog window click the “Scan and Parse” icon. It looks like a magnifying glass. FT-Prog will then scan your computer for any FTDI devices attached to the computer.
FT Prog Program 258x300
Nothing can be changed under “Chip Details”. Under “USB Device Descriptor” the Vendor ID and Product ID of the FT230X can be changed if you have a custom VID and PID. Most users will keep this at the FTDI Default as FTDI allows end users of there devices to use FTDI’s VID and PID. The “USB Config Descriptor” settings refer to the power settings for the device. Setting the FT230X to Bus Powered will tell the FT230X to request the Max Bus Power from the computer when it enumerates. The USB 2.0 standard allows 500mA as the max through normal enumeration. The Pull Down IO Pins in USB Suspend is useful to prevent other devices from being powered via the FT230X when in USB suspend. The “USB String Descriptors” allow changing the manufacture and product description. Changing these will change how the computer names the FT230X when it is connected to a computer. You can also change the serial number of the device if you need to keep track of devices.
The interesting settings that can be changed are under “Hardware Specific”. “Battery Charge Detection” (BCD) allows the FT230X to use dedicated charges. This is a nifty feature as it allows more then the typical 500mA to be drawn through the USB connection. The “Force Power Enable” allows use of the PWREN# CBUS signal (see page 11 of datasheet). This can be used to control external circuitry like a mosfet. This is useful when making a USB powered device. PWREN# will only be asserted when the FT230X is enumerated correctly. Before enumeration a USB powered device is only allowed to draw 10mA. During enumeration the FT230X requests the current value set in the “USB Config Descriptor”. If the computer allows it the FT230X then asserts PWREN# which can open up a mosfet allowing the rest of the device to power on.
Inverting the control signals (RTS#, CTS#, ect) can be done under “Invert RS232 Signals”. This is useful if you need to reset a microcontroller or other part. Note that the FT230X doesn’t have DTR#, DSR#, DCD#, or RI# but they are listed in FT_Prog. The TX/RX pins can also be inverted. I have not found a reason to do this however.
The four CBUS signals on the FT230X can be configured under “CBUS Signals”. Here you can add the PWREN# and BCD Charger signals. I like combining the TX and RX leds into one signal with the TX&RXLED# option. If you are using a microcontroller that can use a 6MHz, 12MHz, or 24MHz clock you can configure a CBUS signal to output those frequencies. This could be useful to reduce part cost in a product.
Lastly the “IO Pins” settings can change the slew, schmitt options, and drive strength of the IO. These are generally not changed. Schmitt input turns the inputs into schmitt triggers which will help reduce digital noise at the cost of more power consumption.
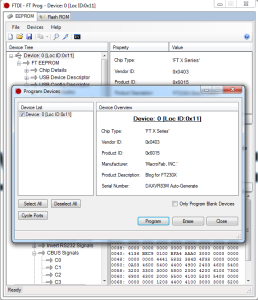
After making the changes needed the profile can be saved as a template by going to File -> Save as Template. This is useful for when you need to program lots of FT230Xs. Right clicking the Device will allow you to apply a previously saved template as well. To program the FT230X with your configuration click “Program Devices”. The icon looks like a lightning bolt.
Clicking program will program the selected FTDI device. When finished the FTDI device must be power cycled to load the new configuration.
FT230 X Macro Fab
Next week I will talk about how to properly make a USB bus powered device with the FT230X using the PWREN# signal.
Ready to get started?
Related Topics
Controlling USB Bus Voltage with the FT230X
The FT230X supports controlling a P-Channel mosfet for high side power control.
USB UART Interface on the Cheap
With USB interfaces on microcontroller devices a USB connection always adds significant cost to the design.
About MacroFab
MacroFab offers comprehensive manufacturing solutions, from your smallest prototyping orders to your largest production needs. Our factory network locations are strategically located across North America, ensuring that we have the flexibility to provide capacity when and where you need it most.
Experience the future of EMS manufacturing with our state-of-the-art technology platform and cutting-edge digital supply chain solutions. At MacroFab, we ensure that your electronics are produced faster, more efficiently, and with fewer logistic problems than ever before.
Take advantage of AI-enabled sourcing opportunities and employ expert teams who are connected through a user-friendly technology platform. Discover how streamlined electronics manufacturing can benefit your business by contacting us today.